Showing posts with label Tutorial. Show all posts

Tuesday, July 5, 2011

Watermelon Skirt Tutorial

I had this great idea pop into my head yesterday morning.
One I was SO excited about, I had to make a dash to the fabric store that afternoon.

The result... this adorable, Watermelon Skirt.
I am so tickled by how this turned out!

Ready to make your own?
Here's how I did it...


Supplies Needed:
- Red Cotton Fabric (I think a pink would be adorable too)... 2/3 yard for a youth medium, 1/2 yard for a youth extra small
- Green Cotton Fabric... 34" x 7 1/2" strip for youth medium, 32" x 6" for youth extra small
- White Cotton Fabric (You could use white ribbon instead, about 1" thick.  Light green might be a nice alternative to white too.)... 3, 2" strips the width of your fabric
- Black Knit Fabric... about 1/8 yard
- Elastic, 3/4" wide
- Thread, in red, green, black and white.

Directions:
1) Prewash all of your fabric!  Press if needed.
2) Cut Your Strips!
I made two skirts; one for my 4 year old (youth extra small) and one for my 8 year old (youth medium).  For the top of the skirt (the green fabric), I cut a 34" x 7 1/2" strip for a youth medium, and a 32" x 6" strip for my youth extra small.

I cut two strips in the red for each skirt.  The youth medium strips were 11" wide, and the youth extra small were 9" wide.

I cut three, 2" strips for each of the skirts in the white.  I LOVED how thick the ruffle turned out.  If you are using ribbon, will want about 120" in length.

3) Start Sewing!
With right sides together, sew your two lengths of red fabric together to begin forming your skirt.  (You will be sewing the two shorter sides together on each end.  I think I used 5/8" seams.  I also left the salvages on the fabric so I didn't have to finish the edge at all.  I love short cuts!

Press your seams.  I guess I should have pressed them to the back of the skirt to protect my seam... but I didn't here.

Next, sew the short sides of your green fabric, right sides together, to form the top of your skirt. Press your seam.

I also decided to go ahead and hem the one side of the red fabric at this time.  I did so by turning the fabric under twice, about 1/4" each time, and sewing along the top of the fold.  Press, and your hem is finished.

4)  Form your elastic wast band casing.
Turn one side of the green fabric down 1 1/4" and pin it all the way around.

Ok... here is where I like to cheat again.  I turn my fabric under about a 1/4" as I sew my casing.  If you are brave, it will save you some work/time.  However, you may want to pin this 1/4" under before sewing.  OR.... I have sat with the iron in one hand and my measure in another.... turned under, press.... turned under, press... which works well too.  Either way you do it.... sew along the edge of your fold, but remember to leave about 2" open on the casing to insert the elastic later!

And here is where I stopped stitching to allow for adding the elastic.

5) Gather Your Skirt!
I like to gather my skirt using my machine.  You can do this by adjusting your stitch length to the longest setting.  First, section your red skirt fabric into fours by placing a pin at each.  Use the two seams for two of your four markers.  You will sew your gathering threads from each of these points.

I stitched along the top edge of my skirt (without back stitching) from pin to pin at about 5/8".

Next, you will need to mark the 4 sections of your green fabric to match to your skirt bottom.  Use your seam as your back mark.  Once you've marked your green fabric, you can match the four points of your red fabric to the green, right sides of the fabric together.

Once it is pinned in place, carefully pull the outside gathering threads and smooth the ruffles in the fabric evenly along each section.  Add some pins to hold everything in place.
  

Now you're ready to sew your skirt together.  I sewed just under my gathering stitch, so I could remove the gathering threads afterwards.  Because I can't figure out HOW ON EARTH to thread the serger my mother gave me YEARS ago... I chose to add a couple rows of zig zag stitching to hold the raw edges of my skirt together here (just to the right of my seam).  That seemed to do the trick.
  

I then flipped the skirt right side out, folded the seam up towards the top of the skirt, and added a seam on the outside to secure it into place.

6) Make a Ruffle!
I don't know why I didn't think of using ribbon for this part, but I do have to say that I love how the cotton fabric turned out.  It was just a bit more work than ribbon would have been.

I chose to sew my two lengths of white strips together to make one big loop.  I pressed the seams open, then folded each side under twice and stitched along the fold to finish it off.  See...

Now... if I had used ribbon, I would have skipped all of that and gone right onto the next step...

Next, I sectioned my fabric into fours, marking each with a pin, and sewed a gathering stitch down the middle.  Hard to see the gathering stitch in this photo, but I promise you, it's there.

Now, just as you did with the skirt, you match your four pins of your ruffle to four pins on your skirt, so your ruffle comes out evenly.  Once you've done that, gently pull your gathering threads and smooth out your ruffles as evenly as you can along each section.  Pin them into place.

Then sew along the middle of your ruffle, careful to keep your ruffle from bunching as you go along.

I went along and carefully removed all the gathering threads that I could.  If you used white thread, you can get away with leaving those you can't easily remove.

7) Add Your Waist Band!
I measured my kiddo's tummy by wrapping the elastic around her waist and cutting it where it met.  I then added a large safety pin to one end to allow me to work it through the casing on the skirt.

And look!  It's morning!  My photos are actually decent looking now!  Sorry about that!  :)


Once your elastic is pulled all the way through, over lap the ends about an inch.  Make sure that your elastic isn't twisted anywhere along the way, then stitch your ends together.
I guess I could have used a different color so you could see my stitching here.  I make a seam up and down on one end 4 times, then diagonal from top left to bottom right 3 times, then up and down on the right 4 times, then diagonal from top right to bottom left 2 times.  Perhaps that is a little excessive??  ha ha... just how my momma taught me!

Don't forget to sew up the hole left in your elastic casing!  I also like to add a little stitch on the right and left sides of the elastic casing just to keep the elastic from ever turning.

8) Time for Seeds!
I found a cup in the cupboard and used it to create a pattern.  I then cut a stack of circles from my black jersey knit.  I think I used 20 for the smaller skirt.  I am not sure yet, but I may add a third row of seeds to the larger skirt (haven't finished it yet).

To create your "seeds" you have to fold each circle as I have down in the photos below...


Fold the circle in half.... then fold into thirds by folding one third over the front, and the other side behind, forming a little seed-looking shape.

Pin each "seed" onto your skirt in an arrangement that is pleasing to you.  You may chose to add them randomly.  I liked the patterned look, so I went with that.


Ignore my band aid.  Just tried to cut off my finger while cutting my child's hair.  I'm not a hairdresser ;)  I used the scientific technique of spreading my fingers to measure my spacing of my "seeds".

Ack!  Sorry, again, for the crummy photos.  The bad lighting and red fabric really didn't work in my favor here.  Next, sew on each of your seeds by adding a stitch, back and forth a couple of times, to the top of each "seed".

I went from "seed" to "seed" without stopping, and cut all of my threads between at the end.  That saved a bit of time.


And here is the finished skirt.


Oh, I just LOVE it!
Hope you do too!

Tuesday, June 28, 2011

Fancy Flip Flops

Fancy Flip Flops for less than $5!
I just LOVE how these turned out.

My little Tater-Bug turned 4 at the beginning of June. 
She is a fancy little gal, so we had to have a fancy little party for her.

I set up a Fancy Flip Flop Making Station as one of her party activities.  I think all of the girls loved that they were creating their pretty flip flops to wear.

Supplies Needed:
- Flip Flops
- Silk Flowers (I used daisies that easily pulled apart)
- Jewelled Brads
- E6000 Craft Adhesive


Directions:
1)  Prepare Your Petals
Remove your silk flower from the stem, and discard.  Many silk flowers are not held together with glue, so you should be able to remove the petals from the flower center at this point.  One flower will give you several petals.  Have fun mixing and match different flowers or colors.  Set your petals aside.

2)  Build Your Flowers
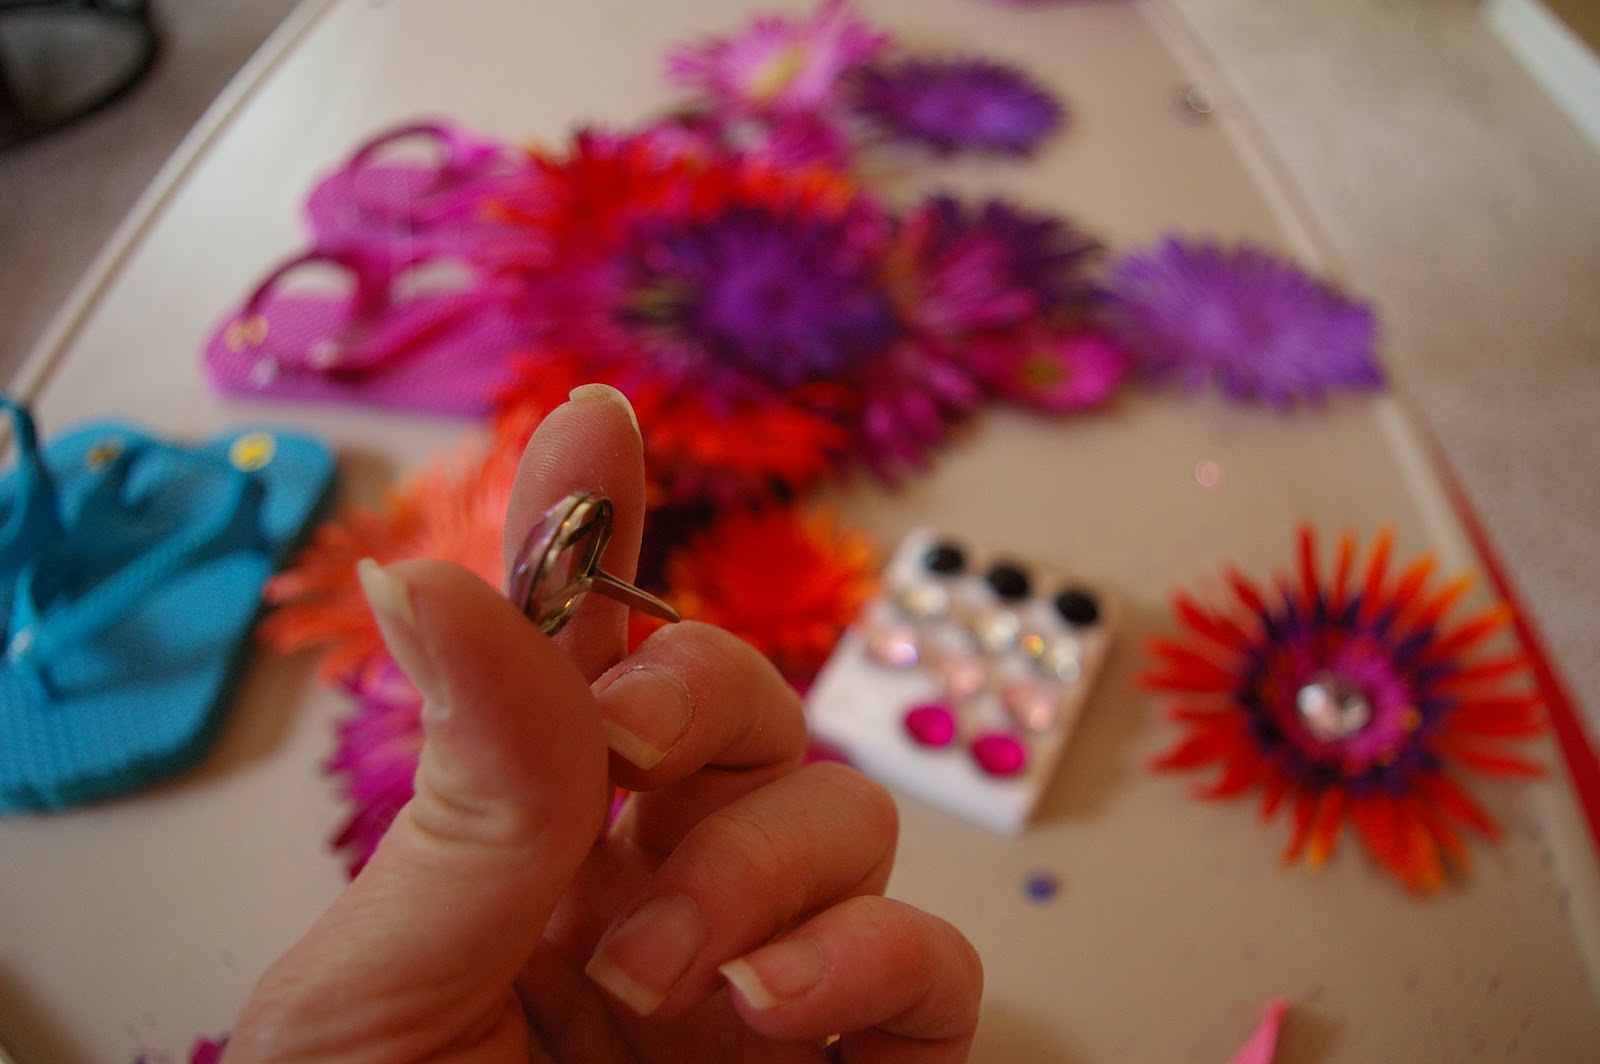
I found these awesome little brads at Michael's.  They come in several different colors, and they were perfect for the little ones to use when building their flowers.

Once you have chosen a brad, begin layering your flower petals onto the back of your brad.  Encourage the little ones to layer smallest petals to largest.
Another benefit to these brads, is that you can test out your flowers and easily make changes before committing to your final flower.  When you're happy with it, just bend the back of the brad open to hold your petals in place.

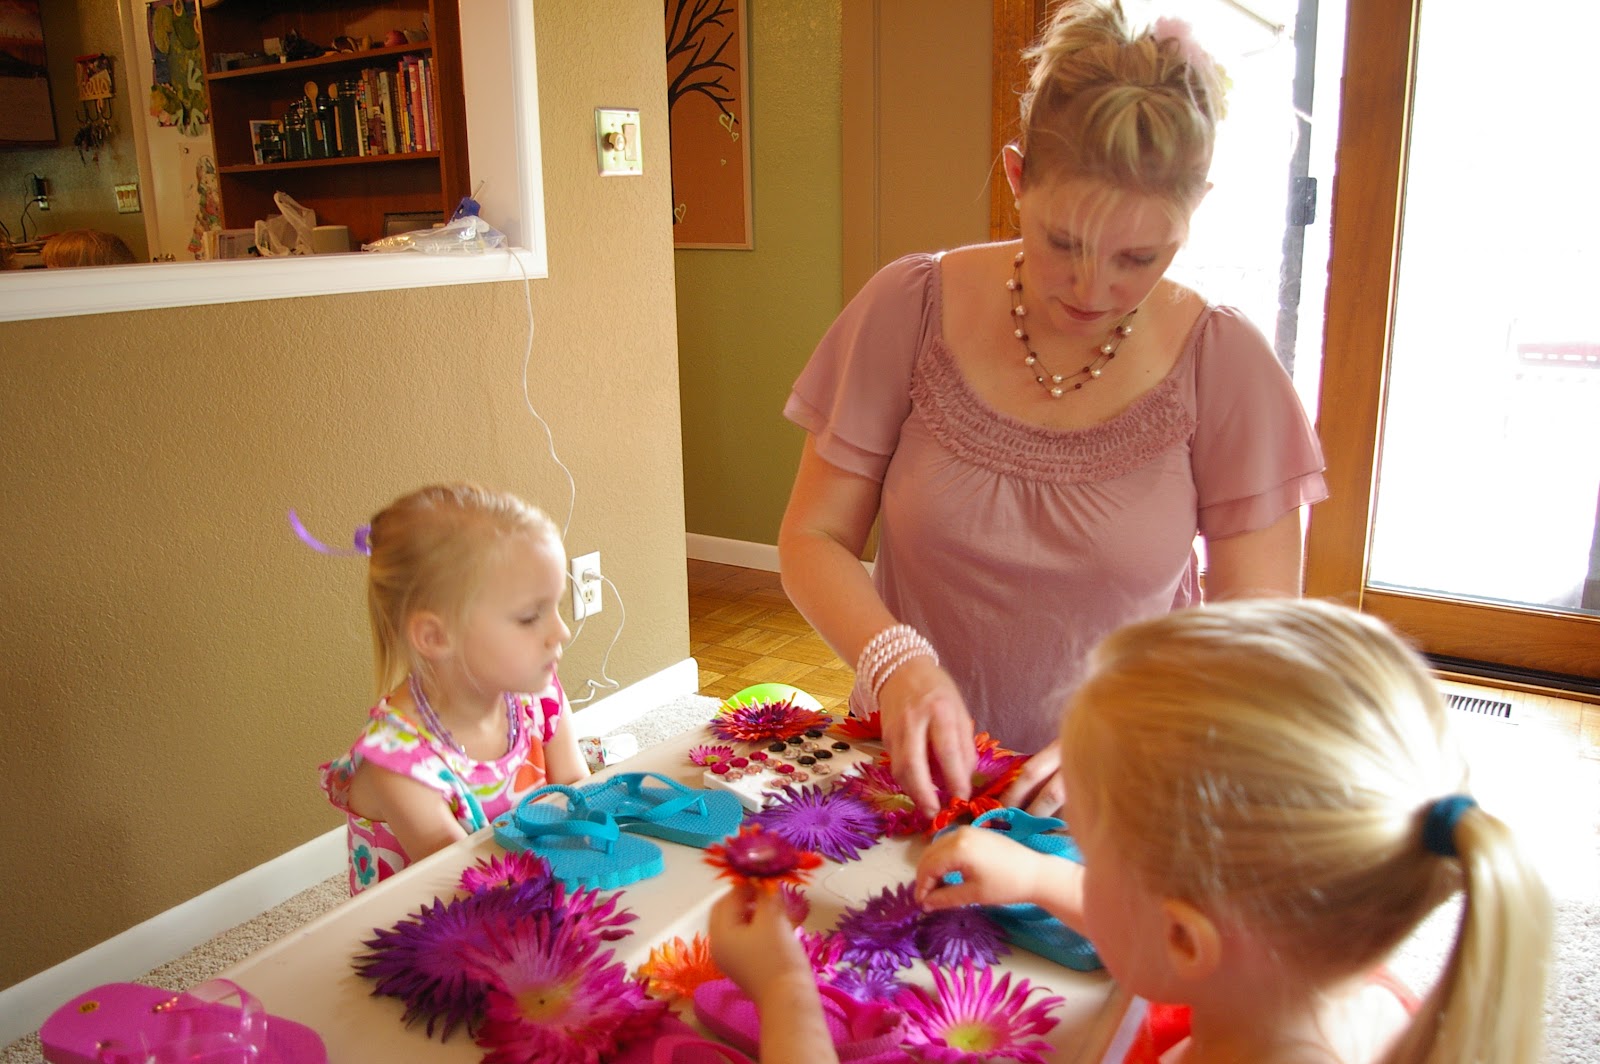
Here I am working with a couple of Tatum's friends at the party.

And here is a friend building her flowers.

Make sure to make a flower for each flip flop!  I won't say, make them matching... because who am I to say anyone should color within the lines! :)  But I will say two flowers are always better than one.

3)  Glue Your Flowers On
Note to self... .hot glue isn't always the best choice.  So yeah, I tried the hot glue.  Only to find that as these girls were running through the house we were losing flowers left and right.  I was SO bummed out!


So, my solution?  I re-glued the flowers onto the flip flops using my new best friend, E6000 adhesive.  Have you used this stuff?  Oh my gosh.... LOVE.  Seriously, in love.  When I glued the flowers to the flip flops, I was sure that the brad itself was sealed between and not poking out where it would scratch little feet.
The verdict.... the flowers are still sticking strong after weeks of wear!

Here are the girls showing off their Fancy Flip Flops.
So cute!

I'm really thinking I need a pair.

Sunday, June 26, 2011

Diaper Cake Tutorial

My sister's expecting a baby in August.... her 4th GIRL!

A perfect excuse for me to finally make one of these diaper cakes that I've been admiring for a couple of years now.  So here you have it...


I was thrilled with how it turned out, and that it really wasn't that difficult to put together.

There are SO many tutorials for diaper cakes out there, that I really wondered if I should bother adding my own.

Hmmm..... 


Yeah, I think I will.

My diaper cake contains the following:
(Keep in mind, you can add or omit pretty much anything you like.)
- About 145 Size 1 Diapers
- 6 Baby Wash Cloths
- 4 Onsies
- 1 Hooded Towel
- 4 Flannel Receiving Blankets
- 1 Bottle of Baby Shampoo/Baby Wash
- 1 Tube of Diaper Rash Cream
- 2 Sets of Baby Nail Clippers
- 4 Pacifires
- 1 Super Soft Blanket Toy
- 1 Baby Rattle

Other Supplies Used:
- Ribbon
- Curling Ribbon
- Rubber Bands (about 220)
- Silk Flowers
- Glue Gun & Hot Glue
- Cardboard (Many people use a cake tray instead)
- Cellophane (not pictured, but I used this to wrap the diaper cake up when finished)


Directions
Step 1: Get Rolling!
Begin by rolling each of the diapers you intend to use in your diaper cake.  I thought it would be easiest to secure them with rubber bands than with ribbon like I've seen some people suggest.  Begin rolling on the open end of the diaper, with the back-side of the diaper facing up.  Tightly roll all the way to the end, and secure with a rubber band.


Next, roll some of your smaller items that you can closely match to the size of your rolled diapers.  Here you see the set of baby wash clothes all rolled.

I folded the onsies so that I could roll them to a similar size as well.

Once everything is rolled, you can begin forming your cake!

Step 2: Form Your Cake Base!
Ok... so this may seem really strange, but I found it quite helpful to use my spring form pan to help me get started.  You want to choose a taller item for the middle to add some stability to your cake (and allow you to attach the next layer).  I used a bottle of baby shampoo here.  I then began to tuck my rolled diapers in around the bottle until everything seemed nice and snug.
I tied a piece of curling ribbon around the diapers and knotted it tightly, removed the beginning of my cake from the pan, and added another layer of diapers to those I'd already secured together.  I was working with so many diapers, that this just made it easier to keep them all in place without whipping out the glue gun (which I would have SO DONE had it not rendered the diapers totally useless for my sister at that point).


For the outer layer of diapers I added in a onsie and a couple of the was clothes, to add some color to the cake.  Again, I secured the entire layer by wrapping a couple lengths of curling ribbon around the middle and knotting tightly.  My bottom layer had 91 diapers, 1 onsie, 2 washcloths, and the bottle of shampoo.


Step 3: Form Your Second Layer!
I decided to hide my hooded towel and receiving blankets inside the diaper cake.  So I rolled each of these into similar heights, and tightly secured them around the shampoo bottle from the center of my cake base.  I had to stick an extra diaper into the middle of these to make up for the extra height above the bottle in the center of them all.

Once you have your middle in place, you can begin adding your diapers and other small, rolled items around them.  Again, you will tightly secure them in place using a couple lengths of curling ribbon around the middle.
My second layer had 33 diapers, 2 onsies, and 2 washcloths around the center blankets and hooded towel.

Step 4: Top it Off!
Before I added diapers to the top layer of my cake, I stuck some of the smaller items inside.  I added diaper rash cream and some nail clippers.

And... just as before... add your rolled diapers and other rolled items around until you are happy with the size.  Secure with a couple lengths of tightly knotted curling ribbon.

Step 5: Decorate It!
If you ask me, this is the fun part!!!
I decided to use this yellow ribbon to wrap around the middle of each layer on the cake.  It hid the rubber bands and the curling ribbon, and gave some nice color.  I used hot glue to secure the two ends together.

I then used hot glue to add a thinner ribbon to the middle in a nice contrasting color that matched some of the items I used in the diaper cake.

I had some left over silk flowers from another project which looked so cute.  I hot glued these to the ribbon, and used a softer, light pink ribbon to tie the other items to the diaper cake (the rattle and pacifiers).  We stuck the little blanket toy on top with another silk flower.

Step 6: Add Some Support!
Yeah.. you could do this first.  I chose to do it last because I didn't want my base to dictate the size of my diaper cake.  I wanted to get as many diapers in there as I could.  So I slid my cake onto a large square of cardboard from a box I had on hand.  I traced around my cake, and cut the cardboard to shape.

And here you have it!


And, in case you were curious, my sis loved it :)

Hope you do too!